Proper Installation Guide for 400mm Welded Superhard Cutting Discs to Enhance Safety
18 03,2026
Tutorial Guide
Mastering the correct installation method for 400mm welded superhard diamond cutting discs is crucial to ensure cutting efficiency and operator safety. This detailed guide covers everything from tool preparation to precise fastening and alignment, accompanied by step-by-step illustrations and practical tips. Whether you are a beginner or an experienced professional, learn how to avoid common errors such as blade ejection and unstable cutting, optimize tool longevity, and boost production safety with UHD’s expert advice.

How to Correctly Install a 400mm Welded Ultra-Hard Cutting Disc: Step-by-Step Guide for Safer Operation
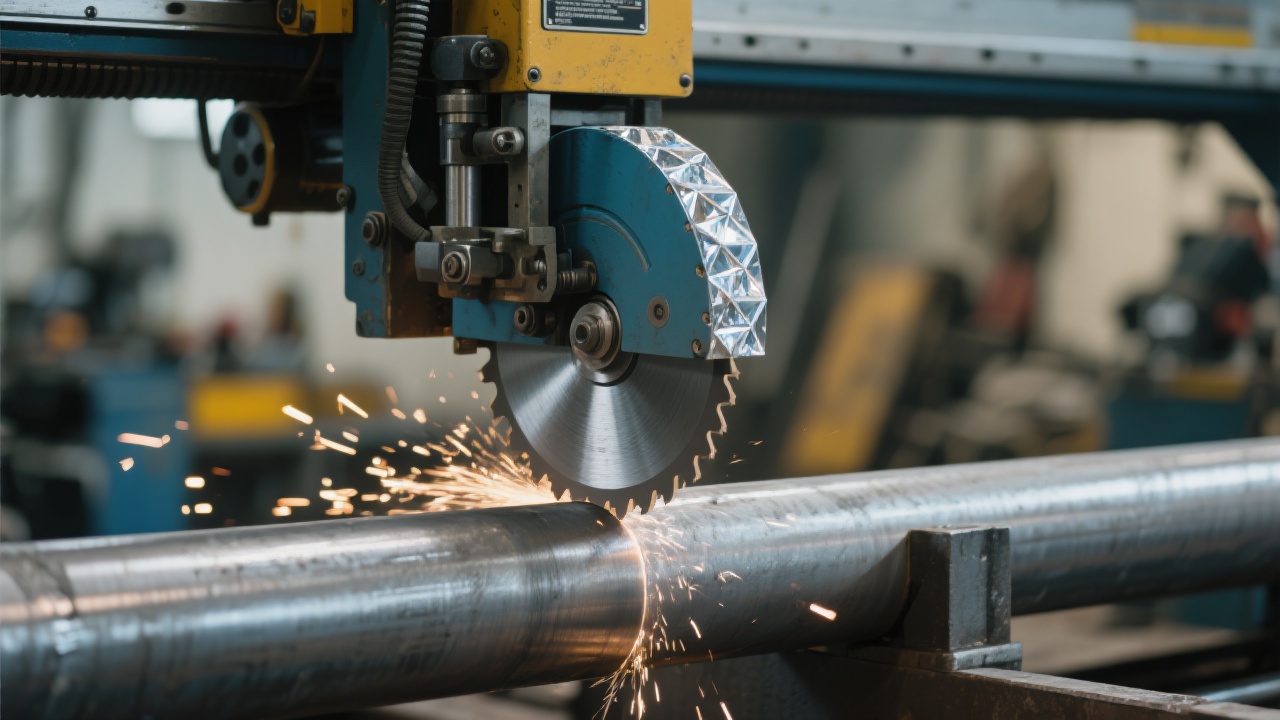
When working with 400mm welded ultra-hard diamond cutting discs, mastering the correct installation process is crucial for optimizing cutting efficiency and ensuring your safety on the job. Whether you’re handling stainless steel, gray cast iron, or granite, following precise steps will help avoid dangerous hazards such as blade ejection, uneven cutting, or premature wear.
Understanding the Disc and Its Applications
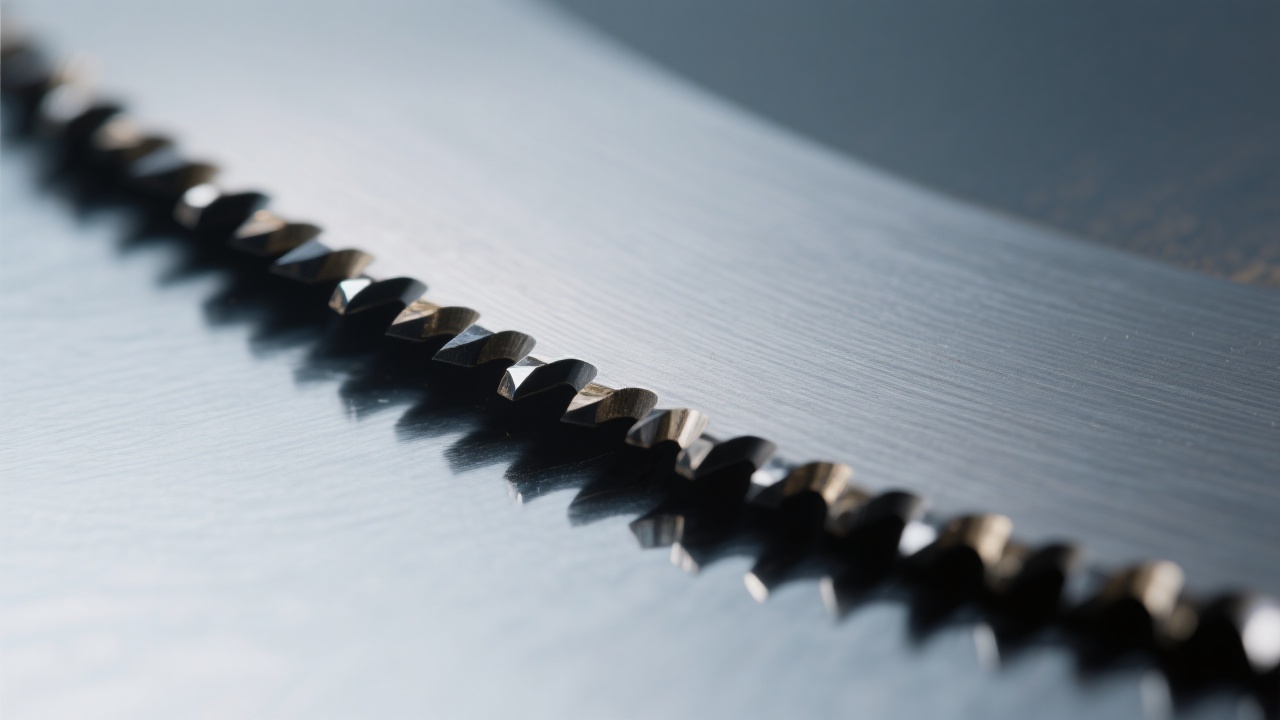
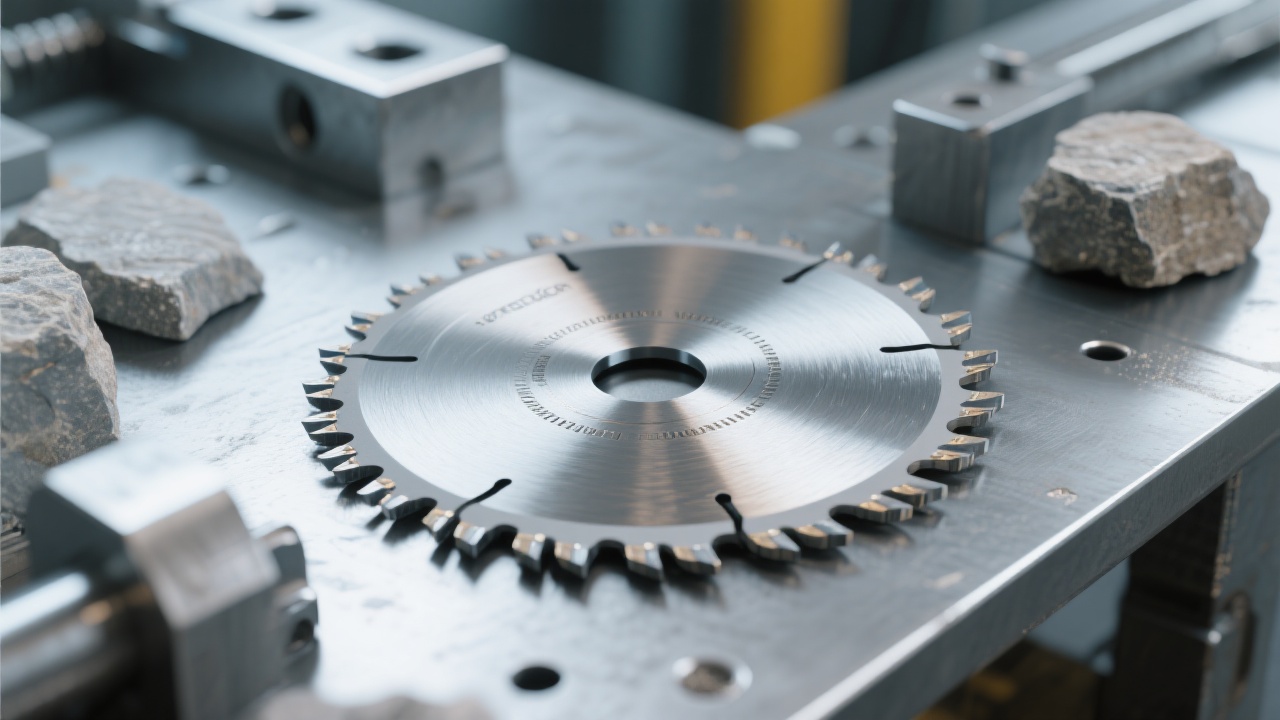
The UHD branded 400mm welded diamond saw blades are engineered for heavy-duty cutting. Their construction provides high durability and precise welds to withstand intensive industrial use. These discs are ideally suited for diverse materials including metal alloys, concrete, stone, and composites. However, each application demands specific attention during installation to achieve maximum lifespan and operational stability.
Pre-Installation Preparation Based on Material
Before mounting the disc, it’s essential to prepare according to the material’s demands:
- Stainless Steel: Ensure the mounting flange and arbor are clean and free of rust or burrs for perfect alignment.
- Gray Cast Iron: Check for vibration-absorbing adaptors or washers suitable to reduce cutting chatter.
- Granite and Stone: Use discs rated explicitly for abrasive stone cutting, and inspect weld integrity closely.
Accurate tool selection and cleaning reduce uneven wear and risk of accidents caused by improper seating or wobble.
Step-by-Step Installation Process
Follow these detailed steps to install your 400mm welded ultra-hard cutting disc safely and efficiently:
- Select the Correct Clamping Fixture: Use manufacturer-specified clamps that fit your disc size. Avoid universal adapters that might introduce play.
- Align the Disc Precisely: Place the disc carefully onto the arbor, ensuring its center hole fits snugly without forcing.
- Centering Calibration: Check disc concentricity using a dial gauge or visual inspection to avoid eccentric mounting.
- Apply the Proper Torque on the Locking Nut: Tighten according to UHD’s recommended torque values (typically between 40-60 Nm, depending on the equipment). Over-tightening can warp the blade; under-tightening risks loosening.
Recommended Torque Settings Reference
| Disc Diameter |
Torque Range (Nm) |
| 400mm |
40 - 60 |
Common Installation Mistakes and Safety Warnings
Many operational hazards stem from installation errors:
- Disc Off-Centering: Causes vibration and blade instability, increasing breakage risk.
- Loose Mounting Nuts: May result in sudden blade ejection, risking injury and damaging equipment.
- Ignoring Weld Integrity: Defective welds reduce disc lifespan drastically and can cause catastrophic failure.
- Over-Tightening: Leads to disc distortion, improper cutting geometry, and early wear.
Always double-check all fittings before powering your cutting equipment. Wear personal protective gear and ensure the workspace is clear of bystanders.
Pro Tips to Extend Your Cutting Disc's Lifespan
Proper installation is just one part of prolonging your disc’s life and maintaining cutting quality:
- Routine Inspection: Regularly assess disc wear and weld integrity after every 10 hours of use.
- Avoid Excessive Force: Let the disc perform the cutting at its own pace to prevent overheating and edge damage.
- Consistent Cleaning: Remove debris buildup from the arbor and disc surface to maintain balance.
- Follow Manufacturer Guidelines: UHD’s detailed handbook includes tailored advice for different materials.
Quick Checklist and Memory Aid for Safe Installation
Memorize this simple checklist to maintain installation consistency:
- ✔ Clean mounting surfaces
- ✔ Use the right clamping fixture
- ✔ Center the disc properly
- ✔ Tighten to recommended torque
- ✔ Verify no play or wobble before startup
Have you ever experienced blade-related accidents caused by improper installation? Share your experience and consider how these practices might help prevent future incidents.