

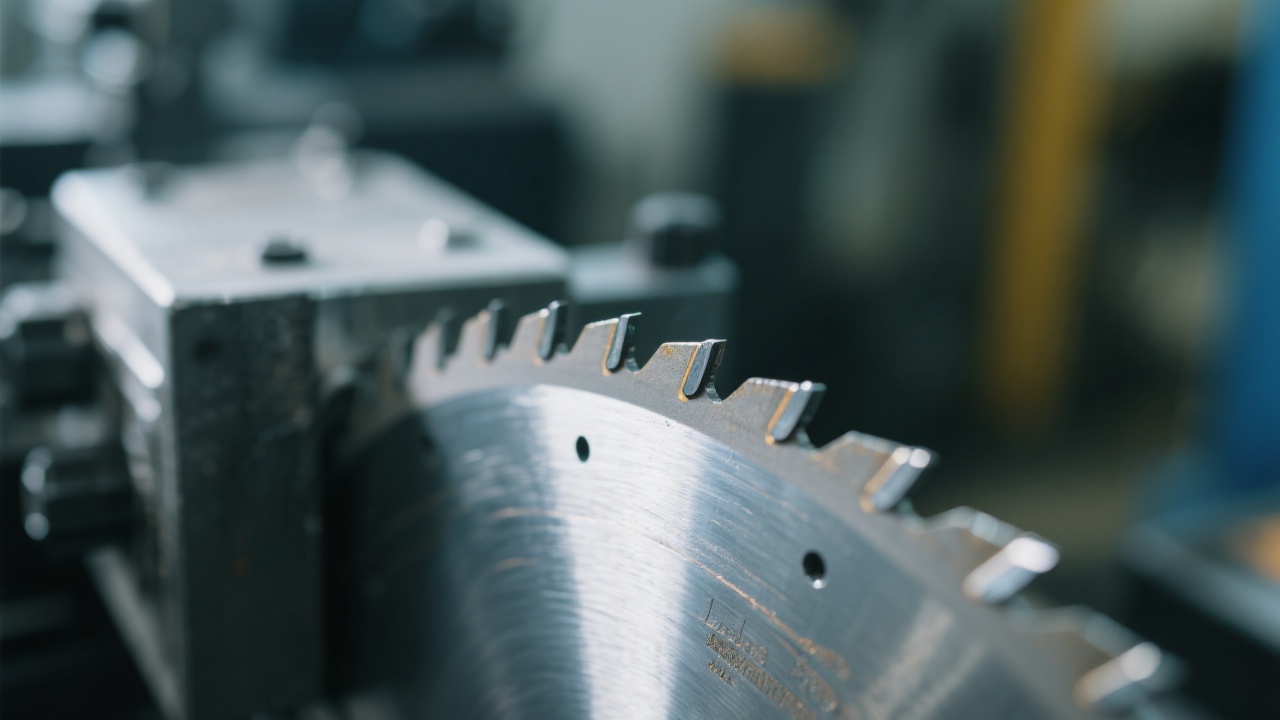
Stainless steel and high-hardness alloy steels punish “generic” blades. Wrong selection doesn’t just slow the cut—it causes glazing, tooth chipping, heat distortion, and premature failure that quietly expands downtime. This guide breaks down the cause-and-effect links between material behavior (hardness, toughness, thermal conductivity) and blade design decisions (tooth form, brazed diamond layout, and high-manganese steel core).
Industry pain point: “The blade still looks sharp, but cutting time keeps rising—and then teeth start breaking.” In many workshops, that pattern is not operator error. It’s a mismatch between stainless steel’s heat profile and the blade’s tooth design + core stability.
Stainless steel cutting is often limited by heat and chip control, not only by hardness. Compared with carbon steel, many stainless grades have lower thermal conductivity (often ~15–25 W/m·K), meaning heat stays near the cutting zone. That raises local temperature, accelerates matrix wear, and increases the risk of thermal distortion (high-temperature bending that can cause runout and side rubbing).
High-hardness alloy steels add another layer: they can be both hard and tough, producing demanding cutting forces. If the blade’s tooth geometry cannot evacuate chips fast enough, the cut turns into friction. Friction turns into heat. Heat turns into accelerated wear and tooth micro-cracking. The failure chain is predictable—and preventable.

| Symptom | Most common root cause | Blade-side correction |
|---|---|---|
| Cut speed drops within 10–30 minutes | Glazing + insufficient chip gullet volume | More aggressive tooth form; optimized diamond exposure |
| Blue/purple heat marks; burr grows | Excessive rubbing, heat concentration | Tooth design for lower contact area; stiffer core |
| Tooth chipping or segment breakage | Impact + unstable core; wrong tooth pitch for thickness | High-manganese steel core; matched pitch & chip space |
| Wandering cut / side burn | Thermal distortion + runout sensitivity | Core with better heat stability; balanced brazing layout |
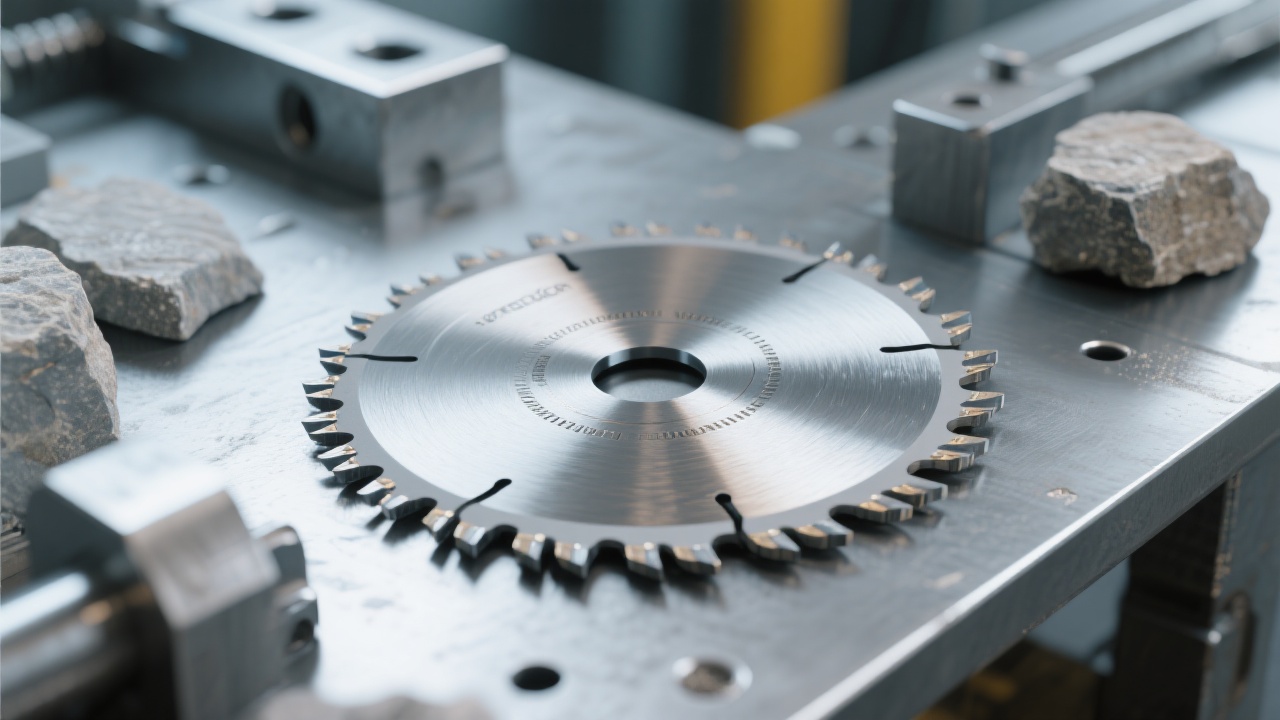
Traditional resin-bond cutting wheels are convenient, but stainless steel exposes their weaknesses: bond softening under heat, faster diameter loss, and more frequent wheel changes. In contrast, brazed diamond blades anchor diamond abrasives with a metallic brazing layer designed for higher thermal resistance and more consistent grit exposure.
Brazed structures typically maintain cutting points longer. In stainless cutting, that often translates into a more stable feed feel and less “sudden dullness” mid-job.
With reduced thermal deformation risk, the blade tracks straighter and avoids side rubbing—one of the most common causes of burnt edges and uneven kerf.
Many shops report visibly lower abrasive dust compared with resin wheels. Practical benefit: less cleanup, and less downtime caused by frequent wheel swaps.
In a stainless tube cutting line (304, 2–3 mm wall), switching from resin wheels to brazed diamond blades reduced blade changes from ~3 times per shift to ~1 time per shift. Average cut time per piece improved by 18–25% after parameters were stabilized (consistent feed + correct tooth type), and rework due to overheated edges dropped noticeably.
Note: results vary by machine rigidity, RPM, coolant/airflow, and operator feed. The point is that blade design can directly affect uptime and cut-to-cut repeatability.
For stainless and high-strength alloys, the tooth is not just a “shape”—it is a heat-management tool. A well-chosen geometry reduces contact area, opens chip channels, and prevents chip welding. That’s why tooth design directly influences surface finish and kerf stability.
In engineering terms, the “best” tooth form is the one that maintains a stable chip flow at your real feed rate. When chip flow stays stable, heat stays lower, the core remains flatter, and the blade delivers more uniform cuts over the shift.
Many buyers focus on diamond grit and forget the blade core. For stainless and high-strength alloys, the core must resist impact, maintain flatness under heat, and handle torsional load without “breathing” (micro warping). A high-manganese steel base is often selected because it can improve toughness and work-hardening behavior, helping the blade absorb intermittent shocks without cracking.
Thermal distortion suppression = preventing high-temperature bending that causes eccentric rotation, side rubbing, and wider kerf.
Impact resistance = the core’s ability to absorb sudden load spikes (entry/exit, interrupted cuts) without cracking or losing tooth integrity.
Balanced abrasive distribution = arranging diamond density to keep cutting force even, reduce vibration, and maintain a consistent cutting path.
When the core stays stable, tooth forces remain predictable. Predictable forces mean fewer micro-fractures at the brazed interface, fewer unexpected tooth losses, and a tangible reduction in unplanned stops—one of the most direct ways to reduce downtime in high-mix metal cutting lines.
For teams that want fast, repeatable decisions, the selection logic below can be turned into a one-page poster near the saw station.
Suggested visual assets for your team: (1) tooth geometry comparison chart (chip flow, burr level, heat marks), (2) a simple flowchart using the checklist above, (3) a “failure symptom → correction” poster for new operators.
If your current process fights overheating, tooth chipping, or frequent blade changes, a properly matched brazed diamond cutting blade for stainless steel with optimized tooth geometry and a high-manganese steel core can significantly reduce stoppages and improve cut-to-cut consistency.
Get a Recommendation for a Brazed Diamond Blade for Stainless Steel CuttingShare material grade, thickness, cutting method (dry/wet), and your top failure symptom. The goal is simple: fewer blade changes, steadier cuts, less downtime.
Keywords integrated: stainless steel cutting diamond blade, high hardness alloy steel cutting, brazed diamond cutting blade, tooth geometry advantages, high-manganese steel core material.


